 FREE SHIPPING Anywhere in the Country for Repairs
Flexible endoscope maintenance is a critical part of infection prevention and regulatory compliance in healthcare facilities. Improper reprocessing can lead to biofilm formation, cross-contamination, and patient harm.
Below is a clear, step-by-step guide outlining the 7 essential steps for proper flexible endoscope reprocessing, aligned with manufacturer instructions and industry guidelines.
What Are the 7 Essential Steps to Reprocess a Flexible Endoscope?
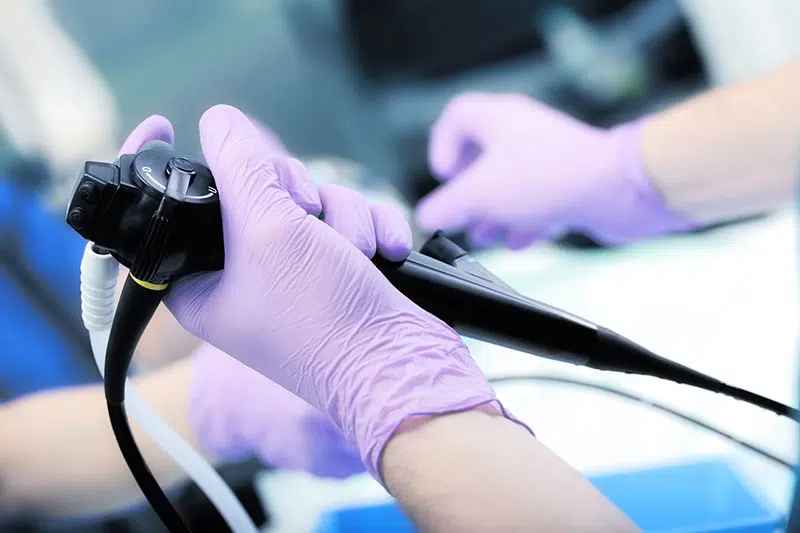
1. Pre-Clean Your Scope.
Reprocessing begins in the procedure room. Pre-cleaning helps prevent biofilm formation, so it’s critical to start the cleaning process immediately after removing the insertion tube from the patient. If the remaining soil isn’t removed promptly, it has the opportunity to dry, which risks complete decontamination. To pre-clean, wipe the insertion tube, clear the air/water channels, and soak in a detergent solution. Note: make sure to remove all detachable components (air/water valve, suction valve, biopsy port cap) & soak in solution separately.
2. Perform a Leak-Test.
Leak tests allow you to detect damage to the scope’s external surface and internal channels. If you don’t perform a leak test and the scope has internal damage, this can lead to inadequate disinfection and further damage to the endoscope. It is essential to perform a leak test after your scope has been pre-cleaned. For tips on performing a productive leak test, check out this past post.
3. Manually Brush & Flush.
Manually cleaning the scope is a critical step in the disinfection process. When performing this step, the scope must be completely immersed in the cleaner. During this step, it’s time to put the previously detached components into the container to scrub them. When cleaning the exterior, use a soft brush or a lint-free cloth. Make sure to thoroughly brush and flush any residue lingering in the channels and ports, as residual matter can reduce the effectiveness of the sterilization process. Let the scope and components soak in detergent for the time frame recommended in the manufacturer’s manual.
4. Rinse & Dry.
Thoroughly rinse the endoscope with clean water to remove detergent. Next, use a lint-free cloth to wipe down the endoscope, then dry the inside of the scope by forcing air through all the channels. The scope must be completely dry before moving on to the high-level disinfection process.
5. Disinfect.
According to the manufacturer, follow reprocessing instructions for proper sterilization or high-level disinfection (HLD). Carefully review which equipment or chemicals to use so you can use the most effective disinfection method. Once immersed in the solution, inject the solution through the channels and soak the scope for the recommended length of time. After soaking, use forced air to rid of any remaining disinfectant. Transfer the scope and components into a container of clean water, then remove the scope and place it on a sterile towel. Dry with a lint-free cloth.
6. Flush with Alcohol.
Flushing the scope with alcohol promotes drying of the channels, preventing bacterial growth. Using 70% Ethyl or Isopropyl alcohol, aspirate through the channels by using the suction device. Then use forced air to dry out the remaining alcohol. Finally, use an alcohol-soaked, lint-free cloth to wipe the exterior of the scope, then dry the ports with a cotton swab.
7. Store & Don’t Forget to Document!
When storing your scope, hang it in an uncoiled, vertical position to facilitate drying and prevent recontamination. Make sure there is enough space between devices to avoid damage from contact. For quality assurance purposes, it is highly recommended to maintain documentation throughout the entire process. Having this on record can be very helpful if there is ever a circumstance that requires you to backtrack, whether it be due to improper disinfection or a recall. You can find our best tips on documenting repairs to your scopes here.
Why Flexible Endoscope Maintenance Matters
 Proper maintenance of flexible endoscopes is essential for patient safety, regulatory compliance, and equipment longevity. Because flexible endoscopes contain complex internal channels, even small reprocessing failures can allow microorganisms to remain and increase the risk of cross-contamination.
Guidance from organizations such as the Centers for Disease Control and Prevention emphasizes the importance of thorough cleaning, disinfection, drying, and storage to reduce the risk of healthcare-associated infections. Skipping or shortening any step can compromise the entire reprocessing process.
In addition to patient safety, consistent endoscope maintenance supports compliance with industry standards. Proper documentation and adherence to manufacturer instructions help facilities avoid survey deficiencies and regulatory issues.
Finally, routine maintenance helps protect a significant equipment investment. Following recommended procedures can reduce preventable damage, extend device lifespan, and lower repair costs — making flexible endoscope maintenance both a clinical and operational priority.
Work With the Experts in Endoscope Repair
To learn more about how to extend the life of your scope with proper maintenance, check out this post as well as our endoscope preventative maintenance guide. Contact Total Scope for any endoscope repairs.